> ## Documentation Index
> Fetch the complete documentation index at: https://docs.solidyne.ar/llms.txt
> Use this file to discover all available pages before exploring further.
# From the display
> Front panel configuration
## Front Panel Control
Essential aspects of the 542APC can be configured directly from the front panel.\
The unit features an **OLED display** and a **push-to-select control wheel**.
1. Turn the wheel to navigate options.
2. Press the wheel to access screen options.
3. Turn again to navigate options within that screen.
4. To modify an option:
* Press the wheel on the option.
* Turn to change its value or state.
* Press again to confirm.
5. To exit, select **BACK** and confirm.
***
### Home Screen and Presets
* At startup, the **home screen** appears briefly showing the firmware version.
* Then it displays the **IP address**, **MAC**, and **current processing preset**.
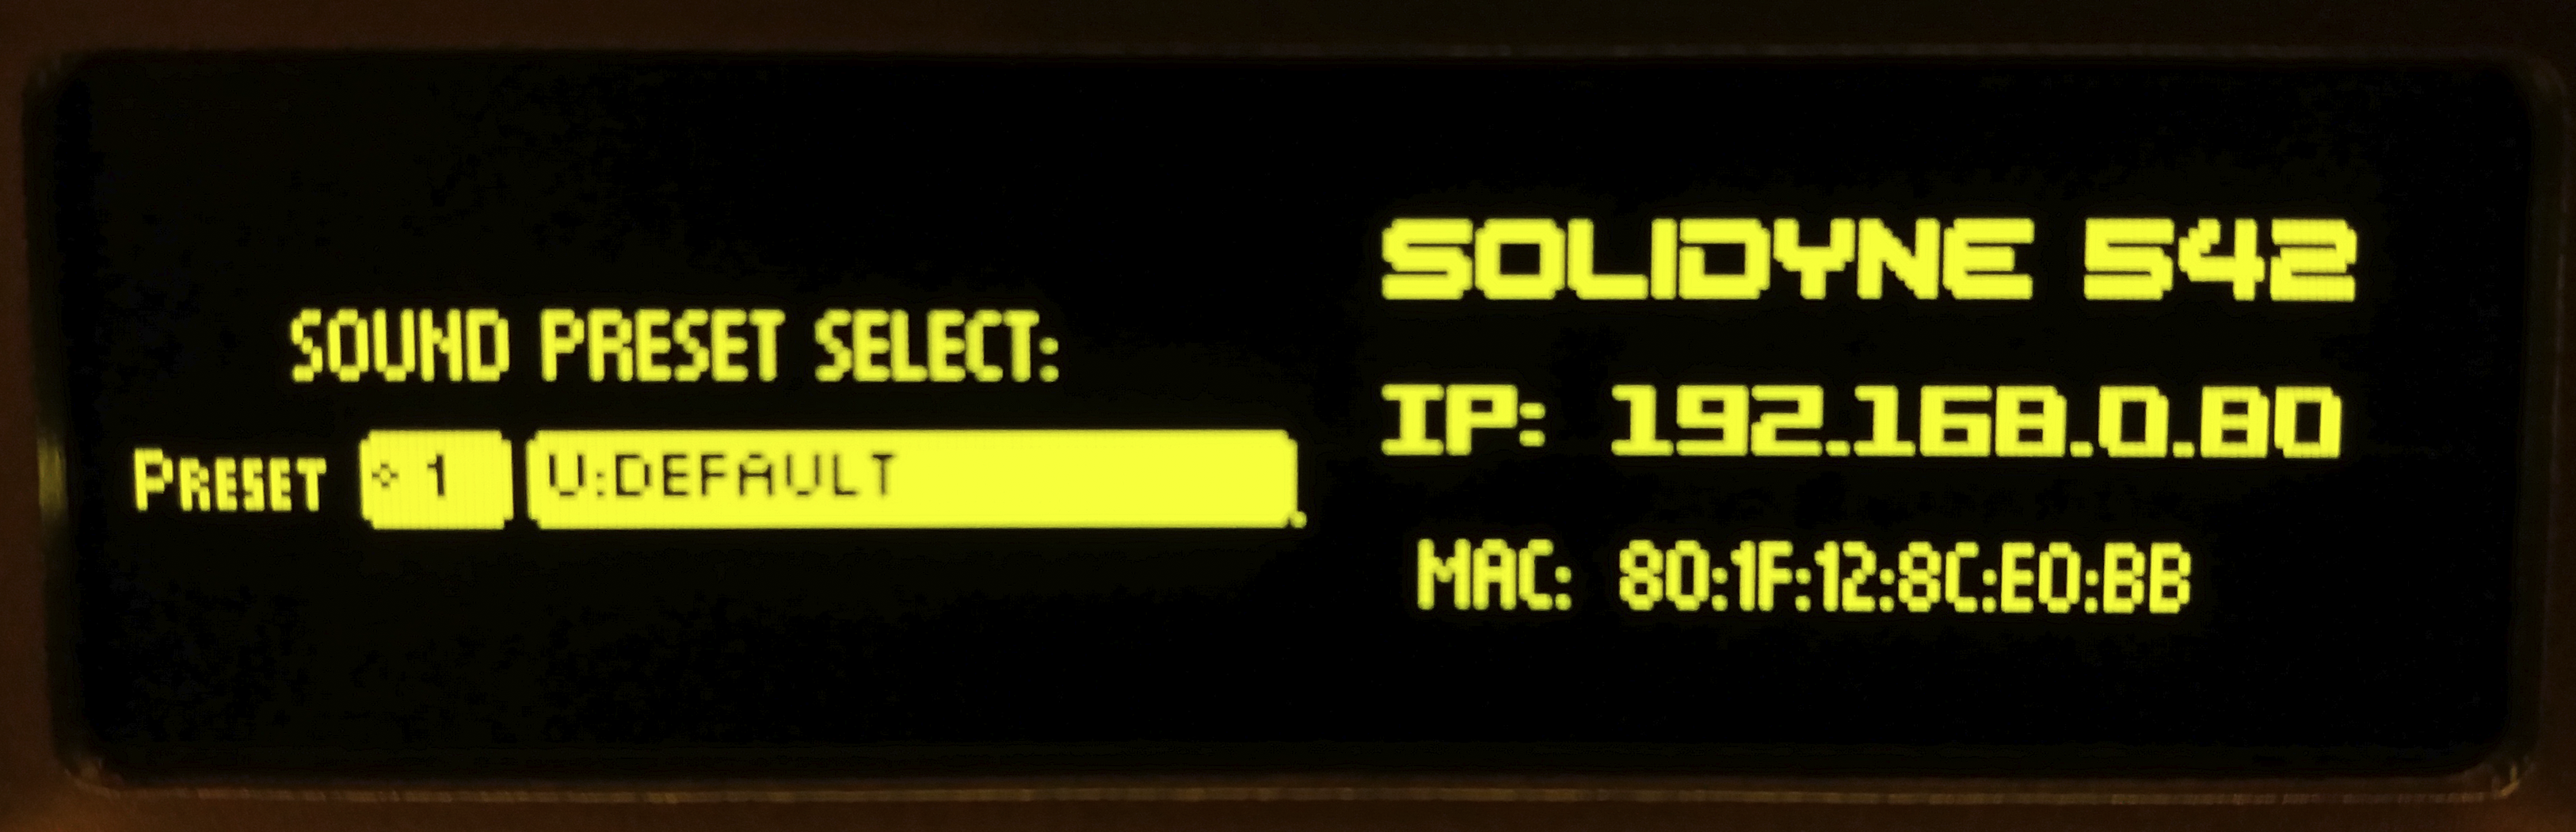 To change presets:
1. Press the wheel.
2. Turn to navigate between **32 presets** (16 factory + 16 user).
3. Press the wheel to confirm.
***
### Lock Screen (LOCK)
The **LOCK** screen is accessed by turning the wheel from the home screen.\
It enables/disables password-protected access.
To change presets:
1. Press the wheel.
2. Turn to navigate between **32 presets** (16 factory + 16 user).
3. Press the wheel to confirm.
***
### Lock Screen (LOCK)
The **LOCK** screen is accessed by turning the wheel from the home screen.\
It enables/disables password-protected access.
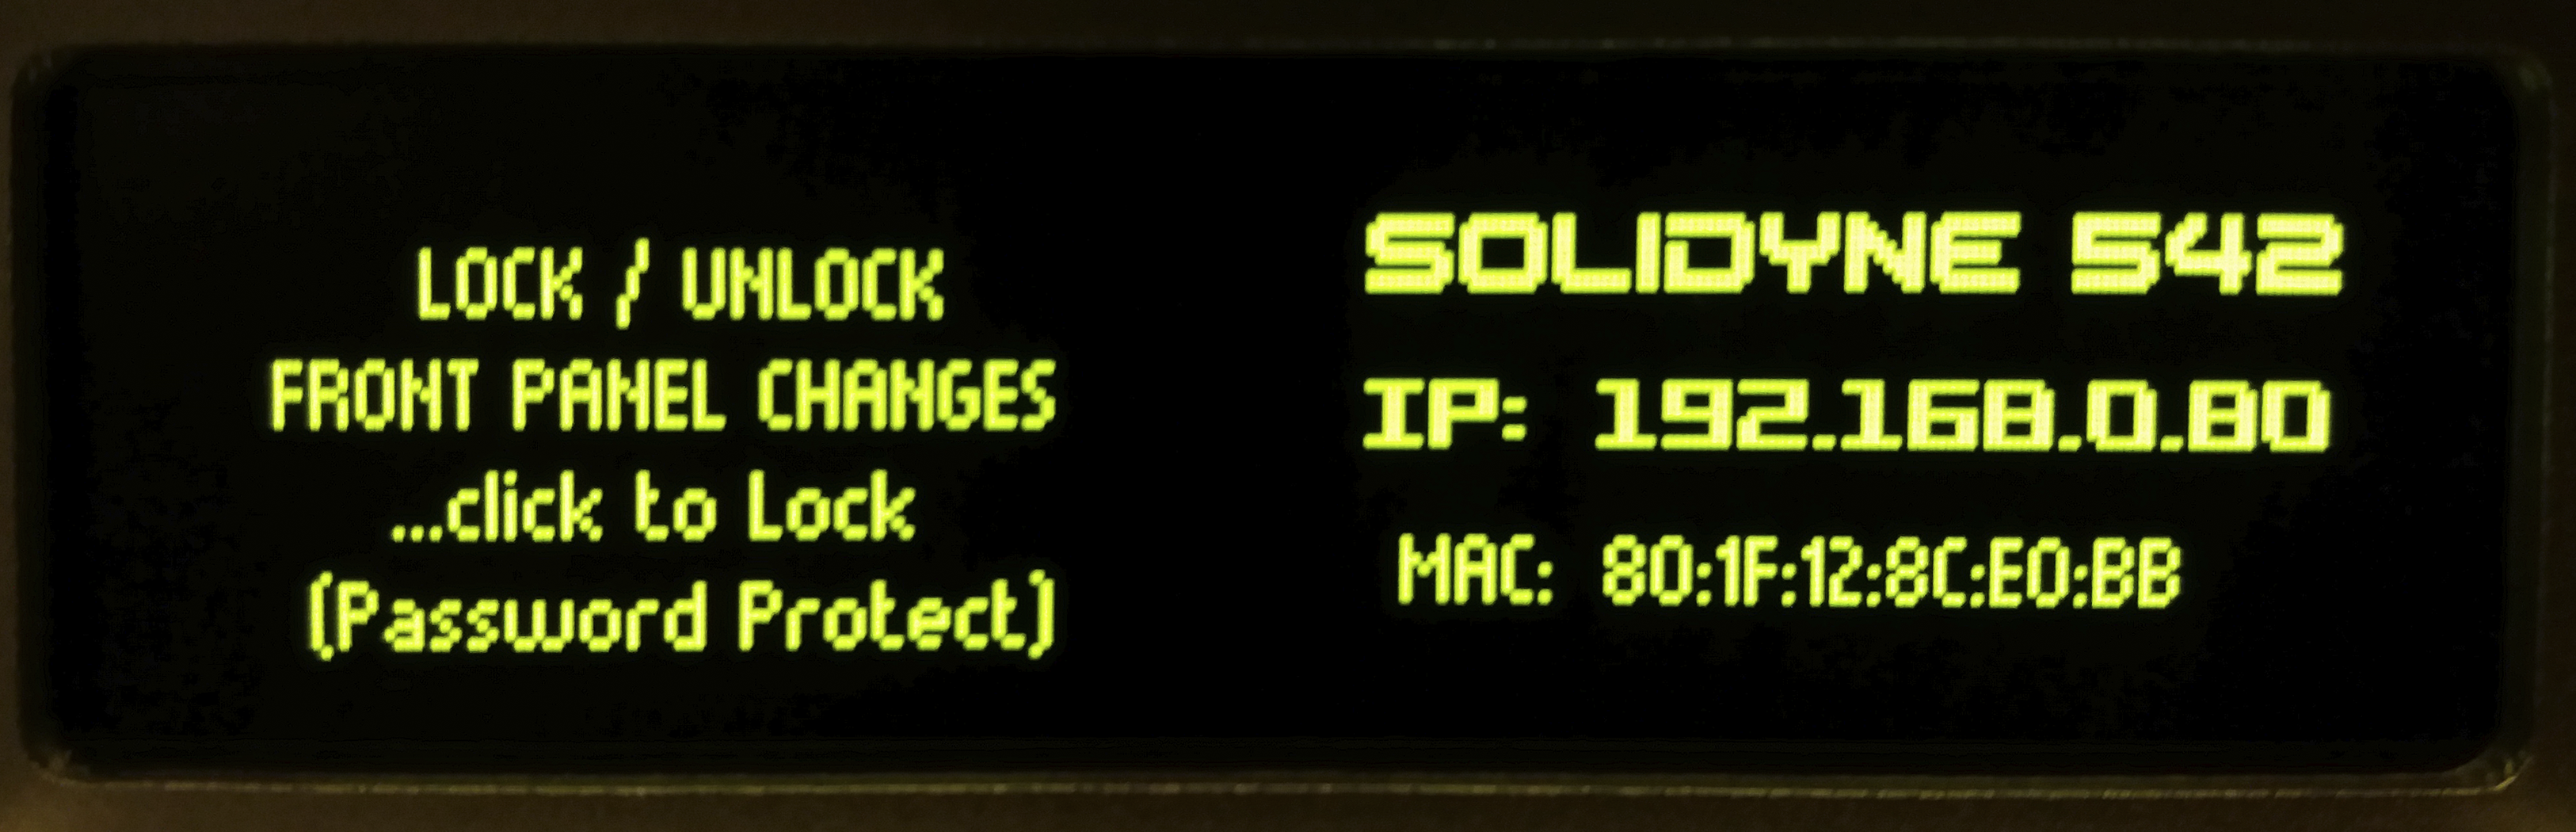 * To **lock**, select LOCK and press.
* To **unlock**, press LOCK again.
* If password is active, it will be requested (default: `1234`).
When the unit is locked, screens can be browsed but options cannot be modified.
***
### Inputs Screen (INPUTS)
Shows signal level for all inputs.\
The active input is indicated by a small **arrow** to the right of the input number.\
Factory default: **XLR Analog**.
* To **lock**, select LOCK and press.
* To **unlock**, press LOCK again.
* If password is active, it will be requested (default: `1234`).
When the unit is locked, screens can be browsed but options cannot be modified.
***
### Inputs Screen (INPUTS)
Shows signal level for all inputs.\
The active input is indicated by a small **arrow** to the right of the input number.\
Factory default: **XLR Analog**.
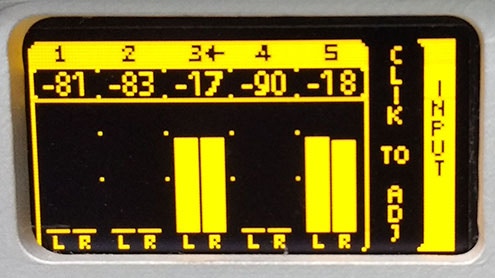 #### Changing the Input (from front panel)
1. Turn the wheel until **INPUT** is displayed.
2. Press the wheel to change the active input.
3. Turn to select the input (example: `2:ANALOG2`).
4. Press to confirm.
5. The active input is indicated with an arrow.
6. Gain adjustment is done from **SETUP**.
***
### Outputs Monitor
Shows signal level for each output.\
Level adjustment is done from the **SETUP** menu, following a similar procedure to inputs.
#### Changing the Input (from front panel)
1. Turn the wheel until **INPUT** is displayed.
2. Press the wheel to change the active input.
3. Turn to select the input (example: `2:ANALOG2`).
4. Press to confirm.
5. The active input is indicated with an arrow.
6. Gain adjustment is done from **SETUP**.
***
### Outputs Monitor
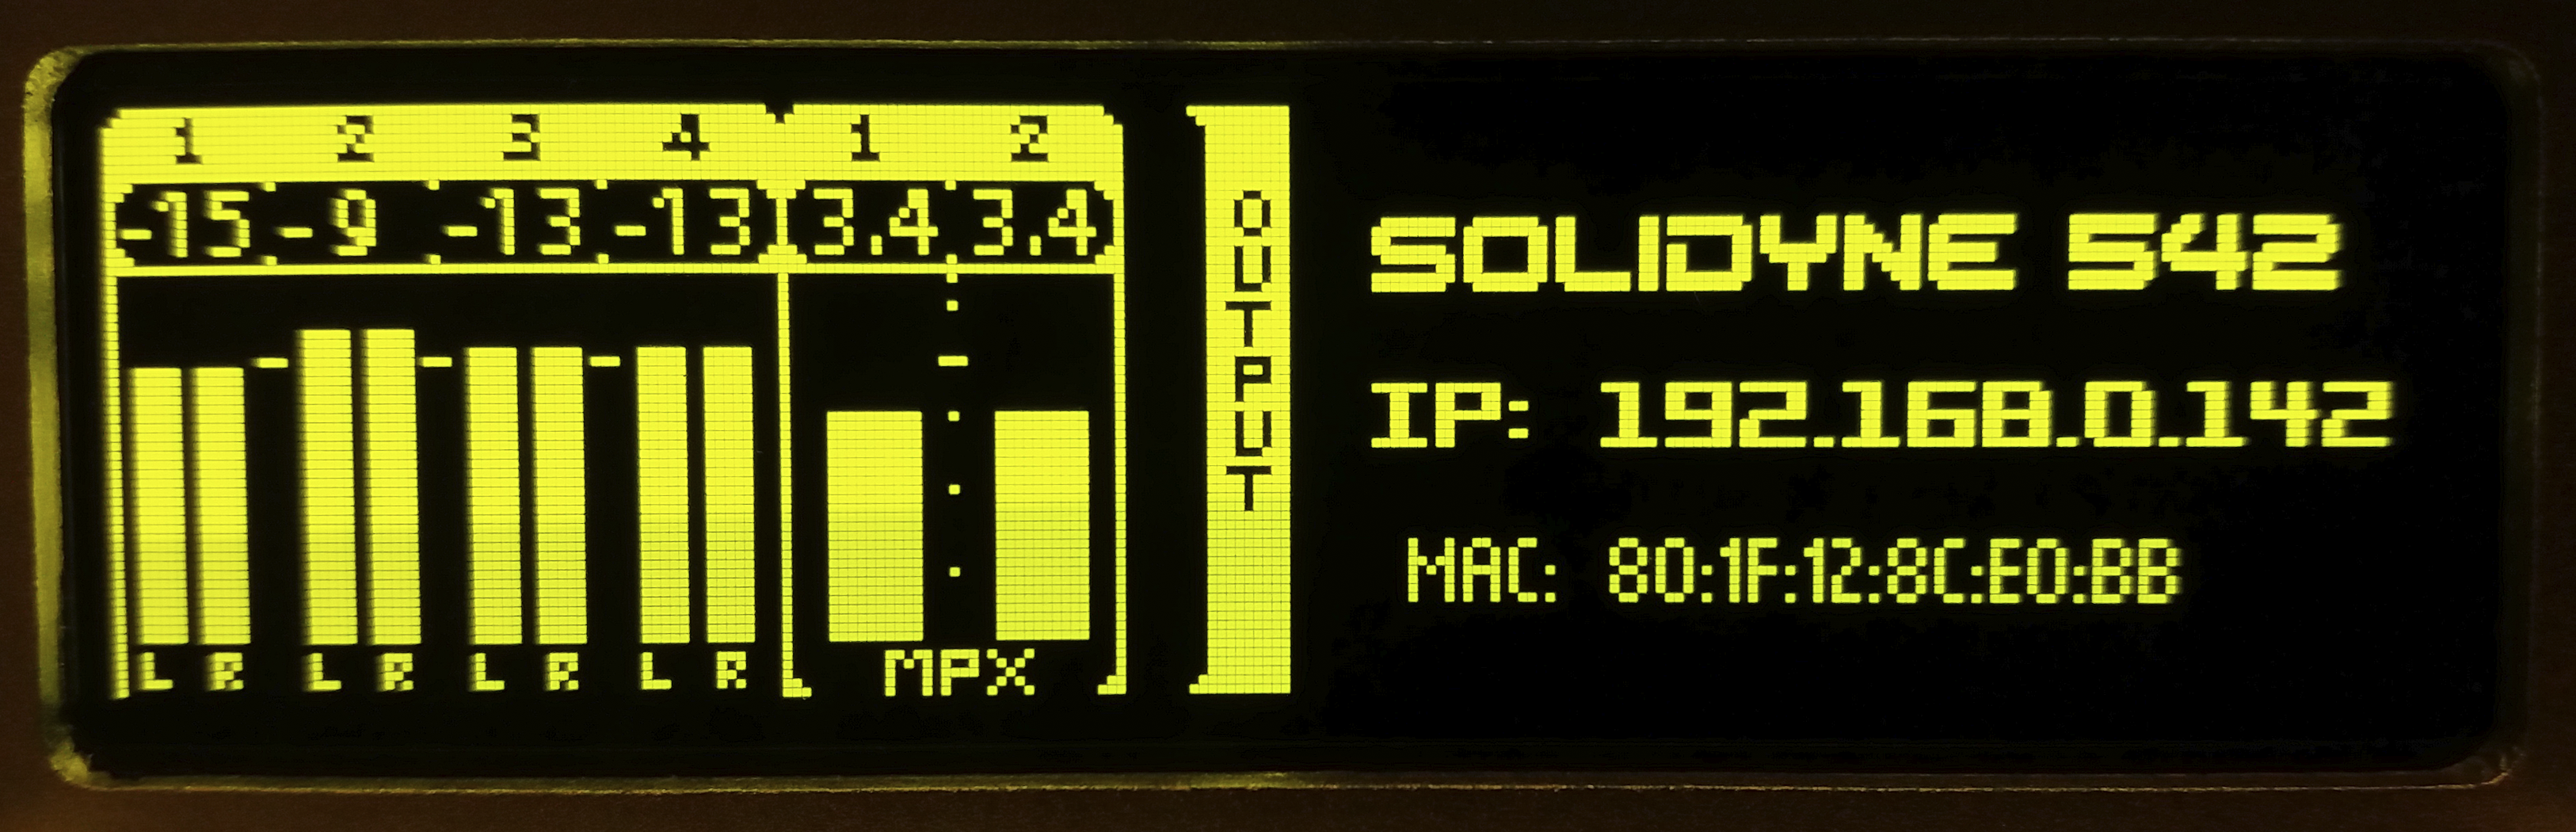
Shows signal level for each output.\
Level adjustment is done from the **SETUP** menu, following a similar procedure to inputs.
 ***
### Processing Monitor
Shows internal processors action.
***
### Processing Monitor
Shows internal processors action.
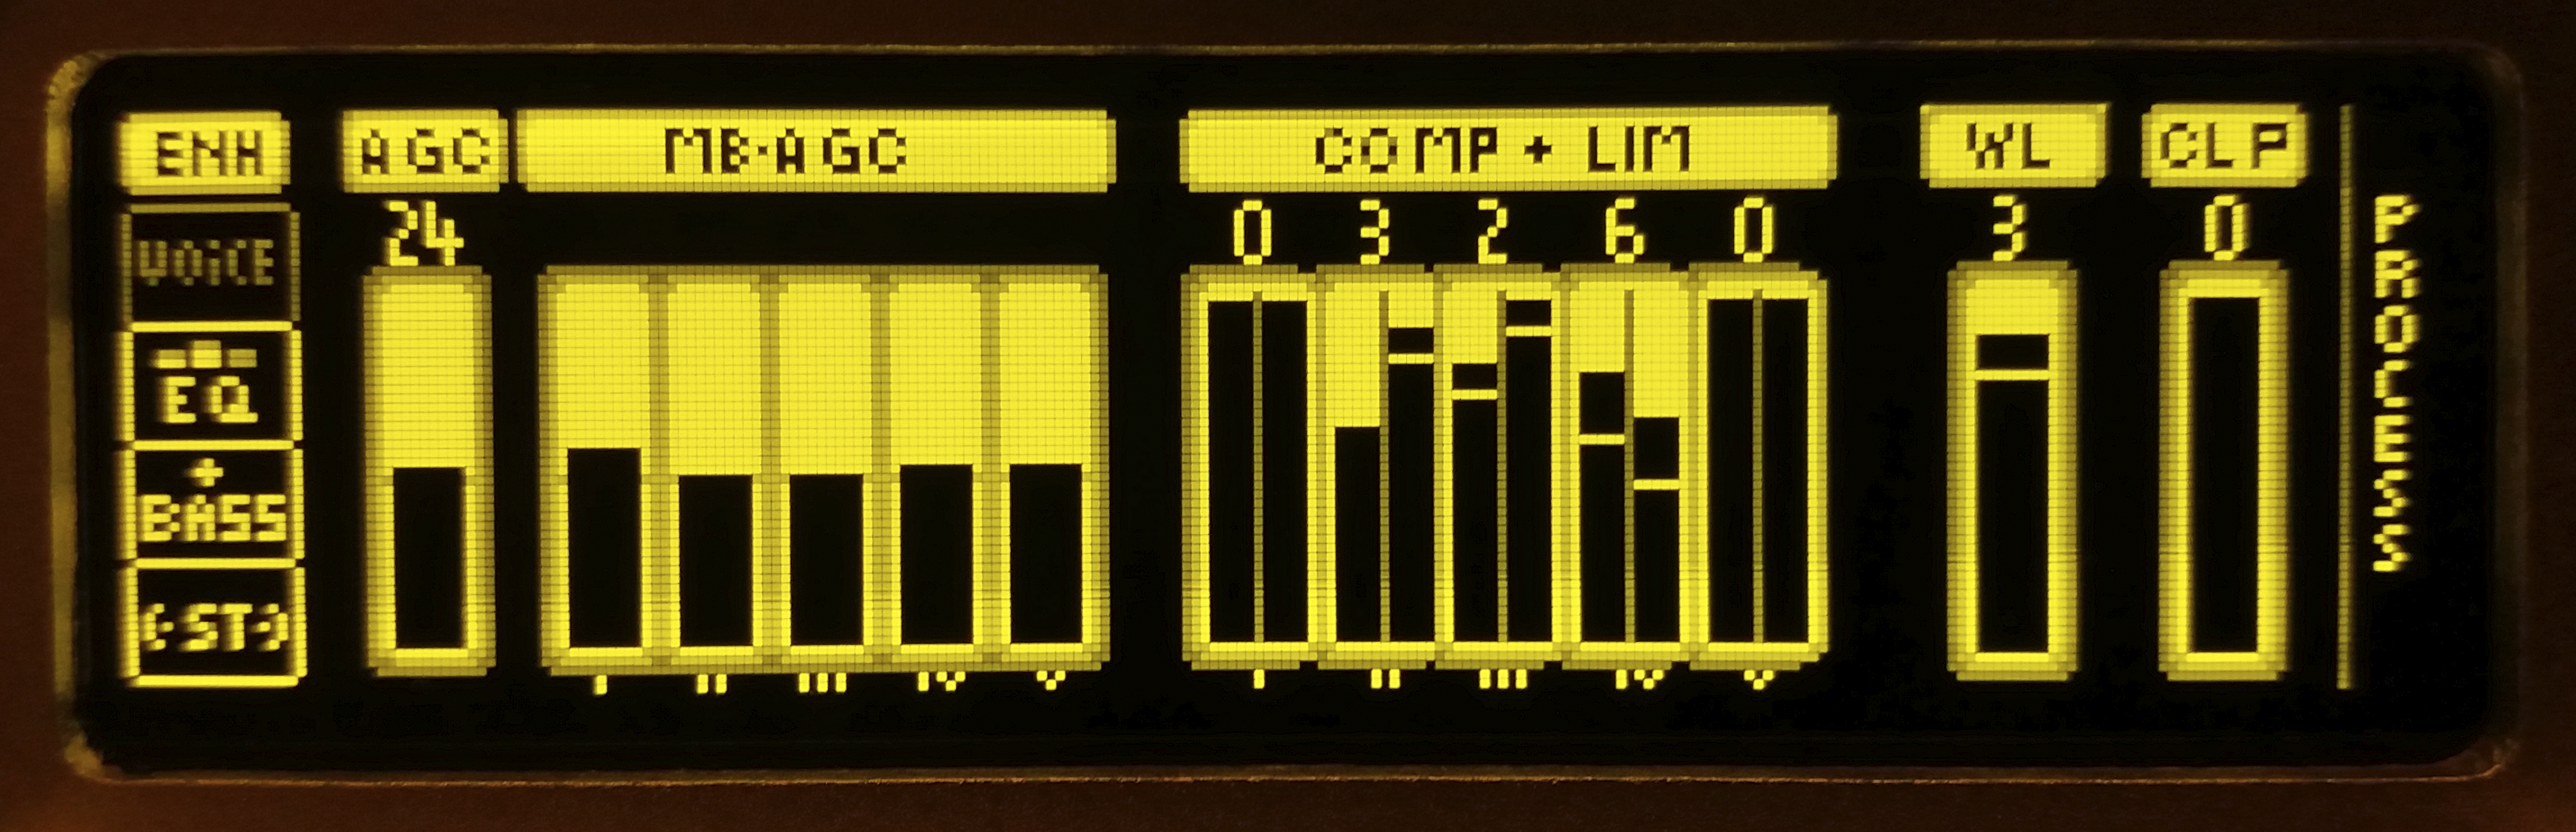 * Full-band and multiband AGC
* Multiband compressors and limiters
* Wideband limiter
* Final clipper
Processing parameters can only be adjusted from the **web control panels**.
***
### Headphones
Allows adjustment of **headphone level**.
* Full-band and multiband AGC
* Multiband compressors and limiters
* Wideband limiter
* Final clipper
Processing parameters can only be adjusted from the **web control panels**.
***
### Headphones
Allows adjustment of **headphone level**.
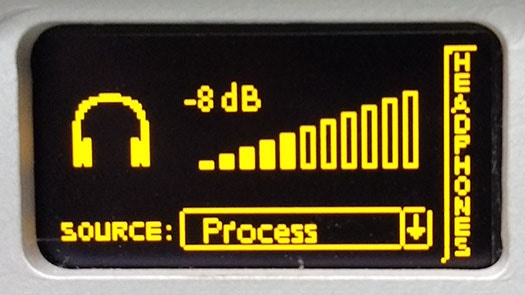 * Turn the wheel to directly modify volume.
Available signal sources:\
a) Analog or digital inputs\
b) Internal FM tuner\
c) AGC output\
d) Final processed audio (with de-emphasis)
To change the source:
1. Press the wheel.
2. Turn to select the source.
3. Press to confirm.
To **exit** the HEADPHONES screen:
* **Press and hold the wheel** until a popup menu with options appears.
***
### System Setup (SETUP)
Main unit configurations can be edited from the front panel.
1. Turn the wheel until **SETUP MENU** appears.
* Turn the wheel to directly modify volume.
Available signal sources:\
a) Analog or digital inputs\
b) Internal FM tuner\
c) AGC output\
d) Final processed audio (with de-emphasis)
To change the source:
1. Press the wheel.
2. Turn to select the source.
3. Press to confirm.
To **exit** the HEADPHONES screen:
* **Press and hold the wheel** until a popup menu with options appears.
***
### System Setup (SETUP)
Main unit configurations can be edited from the front panel.
1. Turn the wheel until **SETUP MENU** appears.
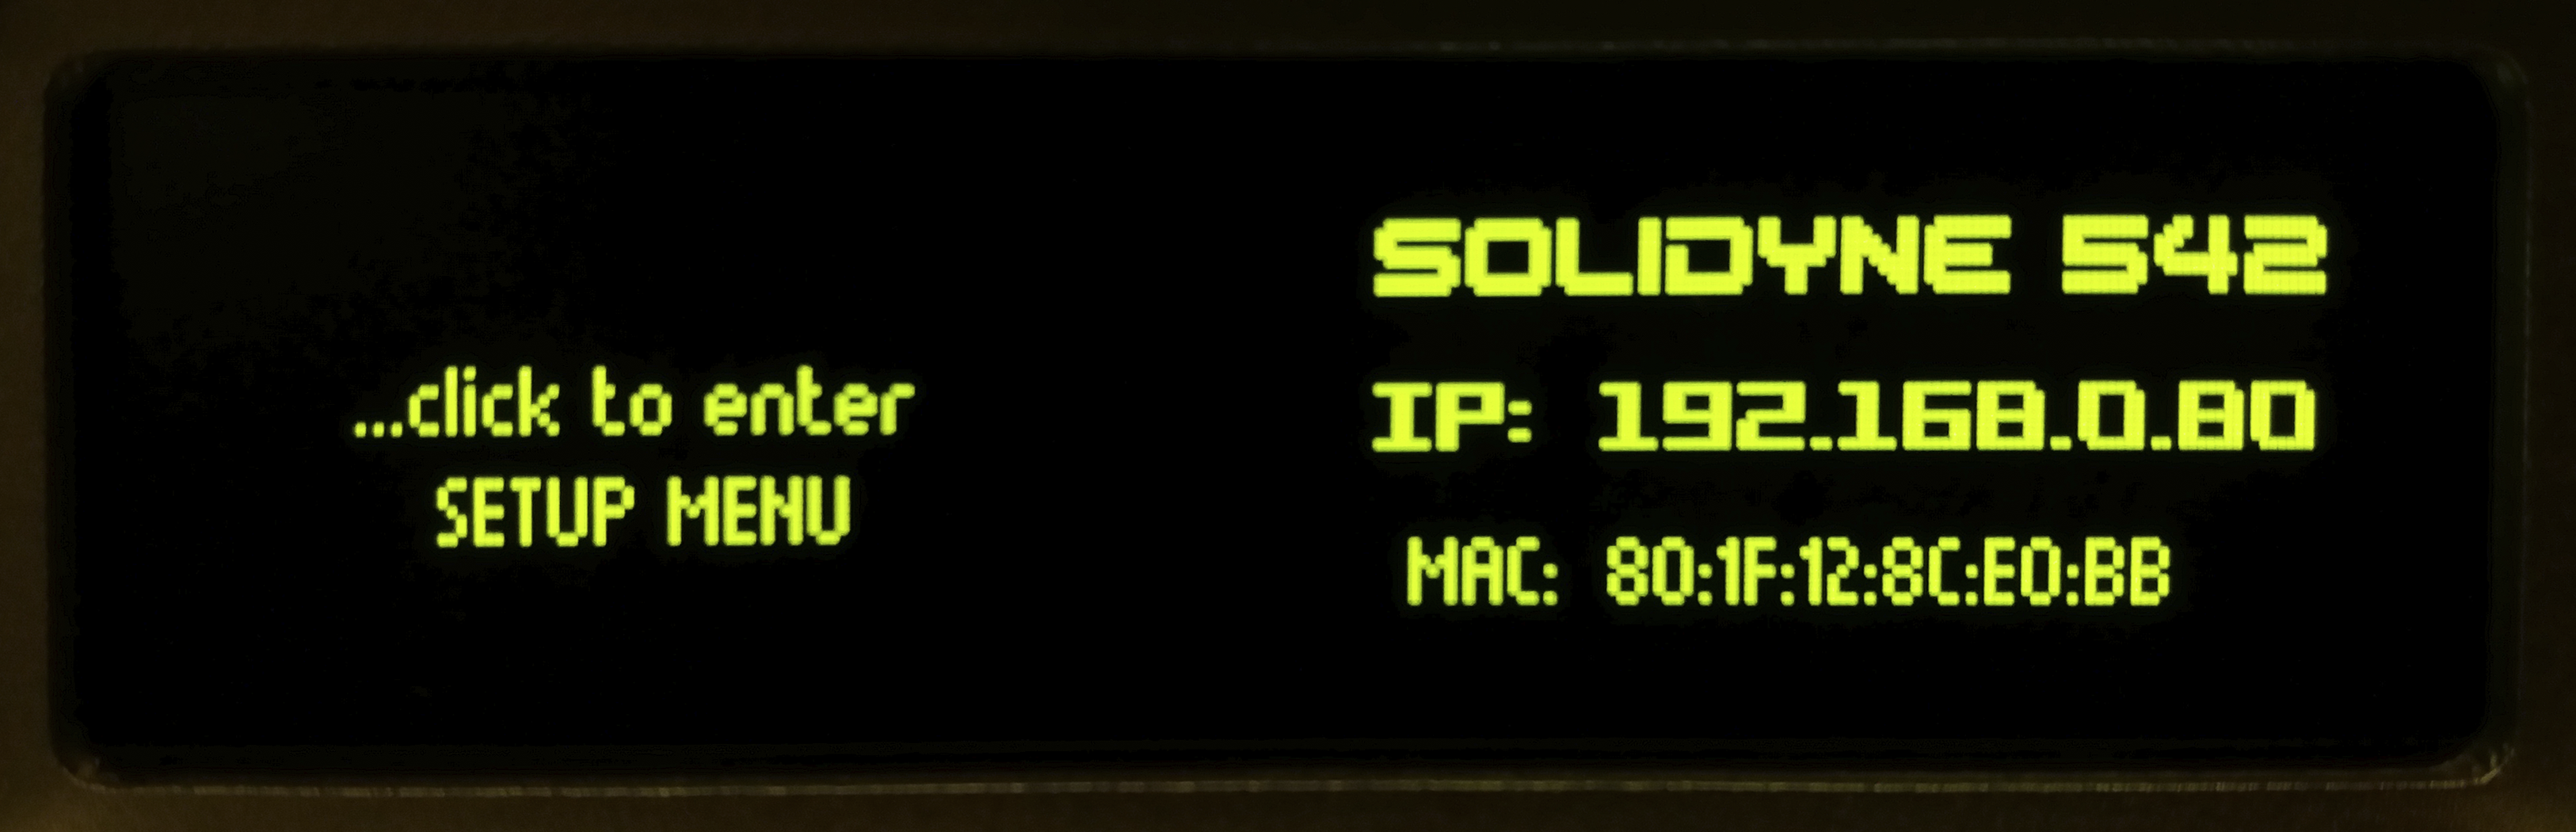 2. Press to view options.
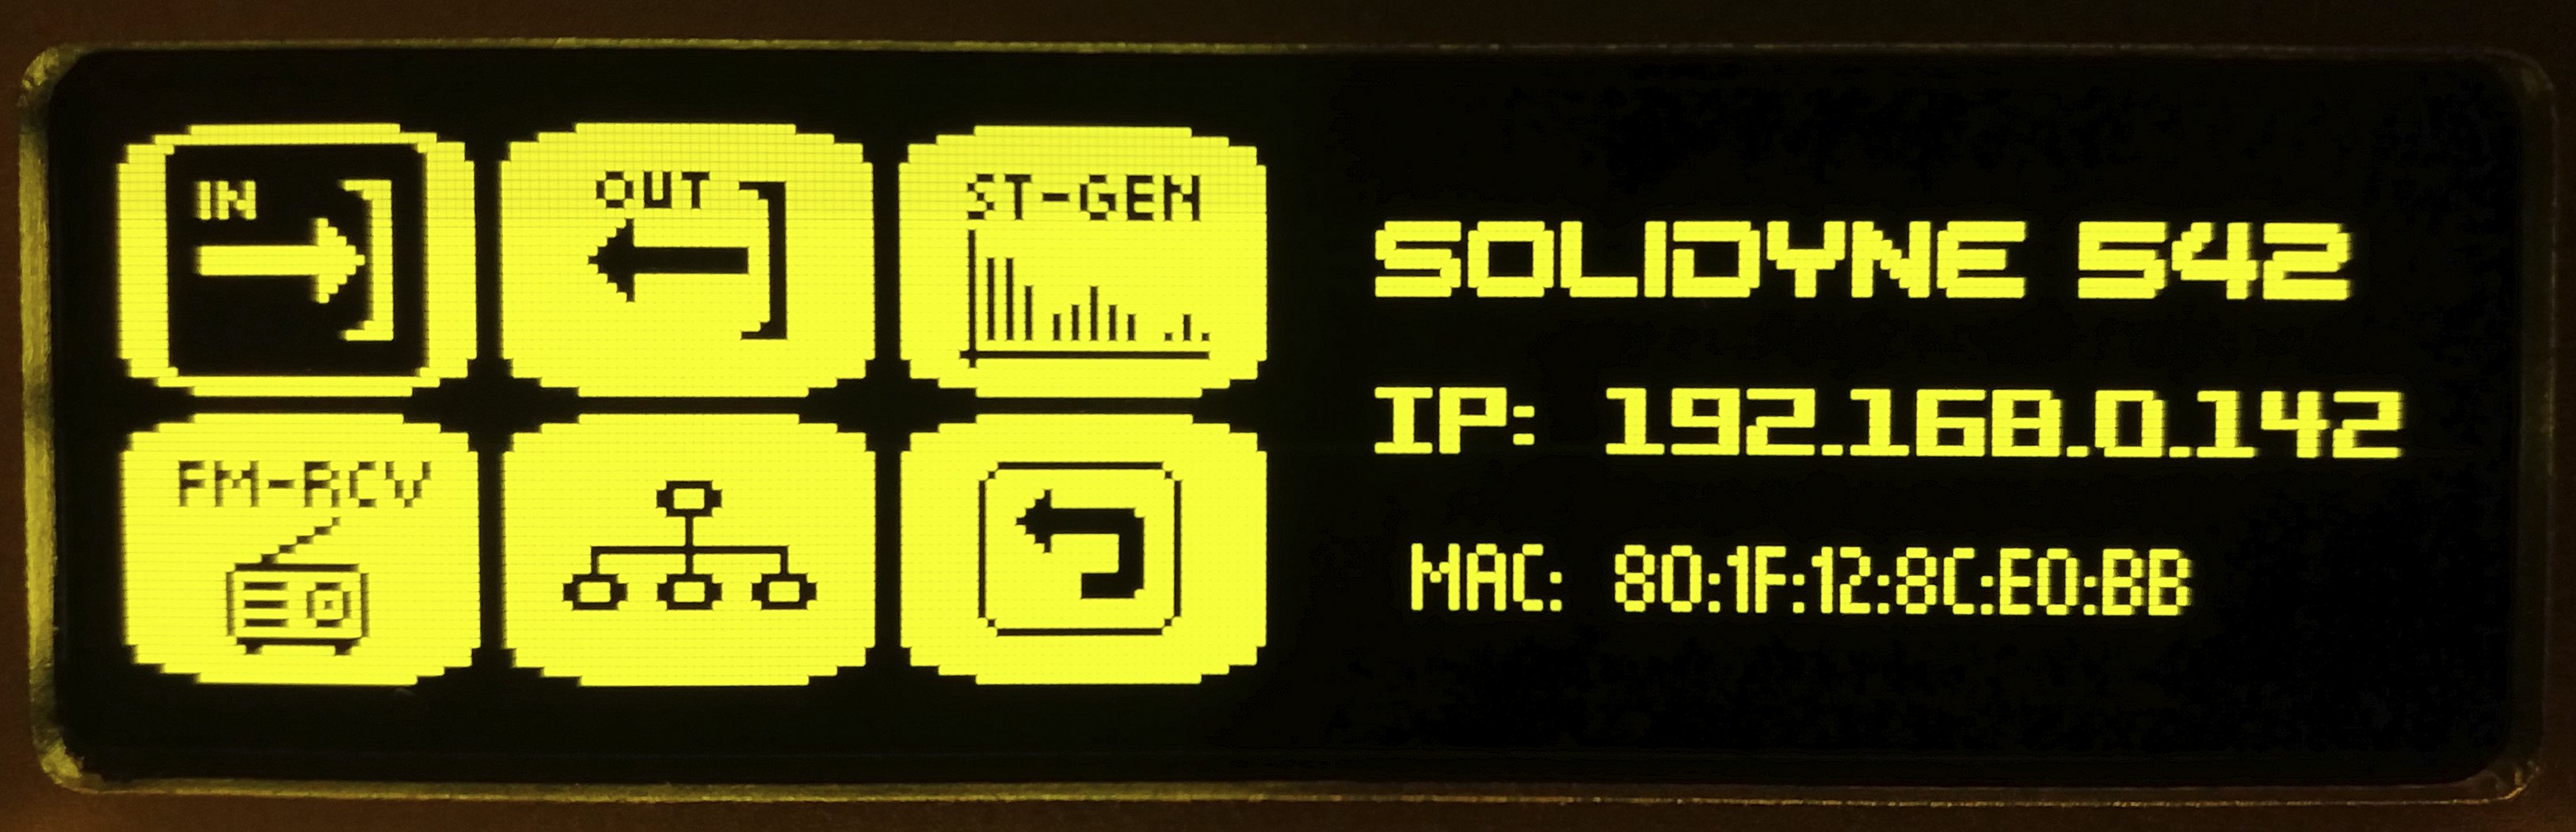 #### Input Setup
* `INPUT SEL`: selects active input.
* `GAIN`: adjusts active input gain within **±14 dB** range.
* +4 dBu level equals –18 dBfs (AES K18), with **18 dB headroom**.
* Adjust gain so **0 VU peaks at console** fall between **–22 and –9 dBfs** on processor meter.
#### Input Setup
* `INPUT SEL`: selects active input.
* `GAIN`: adjusts active input gain within **±14 dB** range.
* +4 dBu level equals –18 dBfs (AES K18), with **18 dB headroom**.
* Adjust gain so **0 VU peaks at console** fall between **–22 and –9 dBfs** on processor meter.
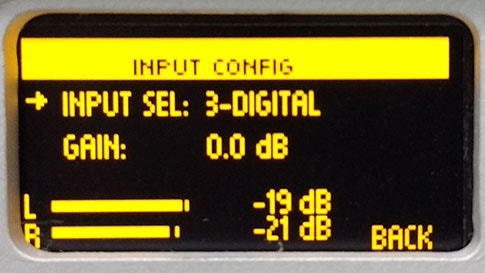 To modify gain:
1. Turn wheel, select `IN` and press.
2. (Optional) To change input, turn wheel, select `INPUT SEL` and press. Turn until desired input appears and press to confirm.
3. Select `GAIN` and press.
4. Turn to adjust gain.
5. Press to confirm.
6. Select **BACK** to exit.
7. Turn to **BACK** in SETUP menu to finish.
8. Changes are saved automatically.
#### Outputs Setup
* `OUTPUT ADJ`: allows selecting an output.
* `GAIN`: adjusts selected output level, following similar procedure as inputs.
#### Stereo Generator
To modify gain:
1. Turn wheel, select `IN` and press.
2. (Optional) To change input, turn wheel, select `INPUT SEL` and press. Turn until desired input appears and press to confirm.
3. Select `GAIN` and press.
4. Turn to adjust gain.
5. Press to confirm.
6. Select **BACK** to exit.
7. Turn to **BACK** in SETUP menu to finish.
8. Changes are saved automatically.
#### Outputs Setup
* `OUTPUT ADJ`: allows selecting an output.
* `GAIN`: adjusts selected output level, following similar procedure as inputs.
#### Stereo Generator
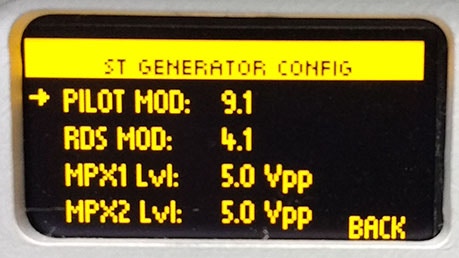 Allows adjustment of:
* ST pilot subcarrier level
* RDS subcarrier level
* MPX-1 and MPX-2 levels (peak-to-peak volts)
#### FM Receiver
Allows adjustment of:
* ST pilot subcarrier level
* RDS subcarrier level
* MPX-1 and MPX-2 levels (peak-to-peak volts)
#### FM Receiver
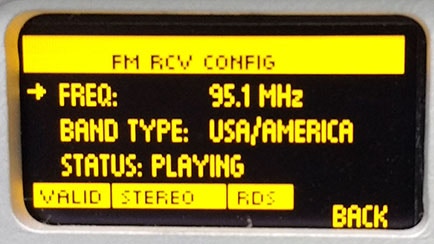 Allows entering:
* FM band type
* Frequency to tune
#### Ethernet Setup
Allows entering:
* FM band type
* Frequency to tune
#### Ethernet Setup
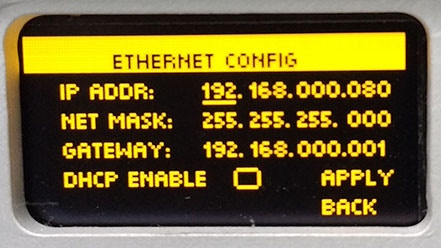 Configures remote control Ethernet port.\
Factory default: **DHCP enabled**.\
Assigned IP is shown on home screen.
***
### FM Monitor
The internal tuner allows analyzing transmission parameters.
Available screens:
* **FM MONITOR**
* **FM MODULATION MONITOR**
* **RDS ANALYZER**
Configures remote control Ethernet port.\
Factory default: **DHCP enabled**.\
Assigned IP is shown on home screen.
***
### FM Monitor
The internal tuner allows analyzing transmission parameters.
Available screens:
* **FM MONITOR**
* **FM MODULATION MONITOR**
* **RDS ANALYZER**