> ## Documentation Index
> Fetch the complete documentation index at: https://docs.solidyne.ar/llms.txt
> Use this file to discover all available pages before exploring further.
# Using StudioBox Hub
> Using the StudioBox into the Studio
## StudioBox Operation
### Studio Headphones
* **StudioBox HD5**: handles up to **five headphones** with independent level controls.
* **StudioBox HD3**: supports **three headphones** and features **two level knobs** (headphones 2 and 3 share volume control).
The **maximum volume** for the headphones is set in the console's MONITOR screen (see *MONITOR → ADVANCED*).
Both models support **dual monitoring channels**:
1. **STUDIO MONITOR**\
Signal received through *Studio Monitor Input*.\
In UNIDEX consoles, the audio source is assigned from the monitoring screen (**PGM, REC, AUX, VBUS, CUE, ON-AIR**).\
When pressing the **TalkBack** button, the talkback microphone sends signal to speakers and headphones.
> Speakers are automatically muted when microphones are on-air.
2. **AUX IN**\
Auxiliary line input. Up to three headphones can be assigned to this input (HD5).\
In UNIDEX, an output that replicates the studio assignment can be connected, but with its own talkback switching, allowing communication to a specific group of headphones (**AUX**) or to all.
See [StudioBox connections](/en/unidex/ux-StudioBox-conexiones) for details about dual talkback channel configuration.
***
### Studio Monitors
The studio speaker output has its own level control.\
The monitors play the signal from the **STUDIO** input, according to the console assignment.
**Speaker volume:** Adjust the active monitor speakers for a comfortable listening level with the StudioBox **LOUDSPEAKER LEVEL** control positioned at center.
***
### Reverse Intercom
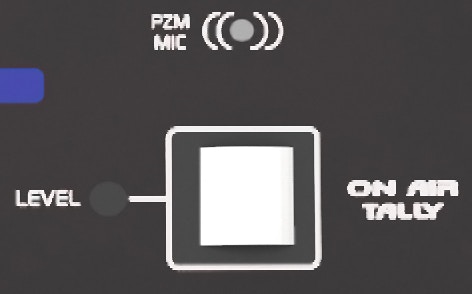
The **white button** has two functions:
1. **Microphones off**:
* Press to talk to *Control*.
* The box includes a **surface microphone**.
* In the *Control Room*, the operator hears the signal on the console's **CUE** channel.
* To respond, from the Control Room the operator uses the console's **TalkBack** button.
* Adjustments:
* **mic gain** preset (located in the StudioBox under the microphone).
 * **Intercom Input Gain** on the console, in *MONITOR → ADVANCED* screen.
2. **Microphones on-air**:
* The button acts as Tally Light, illuminating red to indicate **ON AIR**.
***
### Timer / Clock (HD5 only)
* **Intercom Input Gain** on the console, in *MONITOR → ADVANCED* screen.
2. **Microphones on-air**:
* The button acts as Tally Light, illuminating red to indicate **ON AIR**.
***
### Timer / Clock (HD5 only)
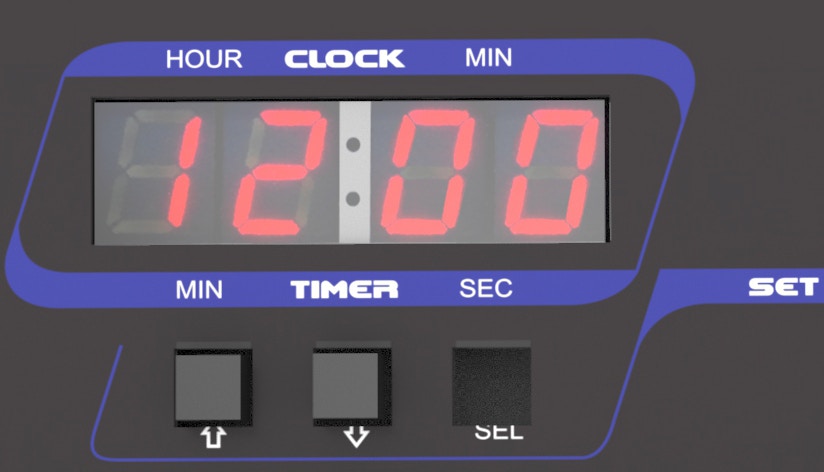 * **Microphones off**: displays current time.
* Manual adjustment using **SET** buttons (HOURS/MINUTES) and **UP/DOWN** arrows.
* **Microphones on-air**: displays elapsed on-air time.
The on-air time counter function can be disabled by removing an internal jumper (requires removing the module cover). This deactivates the *counter* mode and the display always shows the current time.
* **Microphones off**: displays current time.
* Manual adjustment using **SET** buttons (HOURS/MINUTES) and **UP/DOWN** arrows.
* **Microphones on-air**: displays elapsed on-air time.
The on-air time counter function can be disabled by removing an internal jumper (requires removing the module cover). This deactivates the *counter* mode and the display always shows the current time.